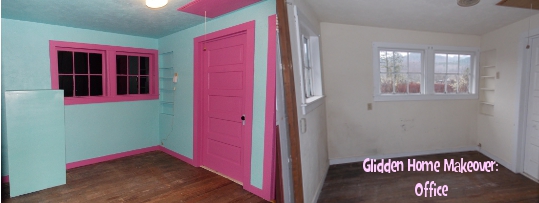
We’re on month three of our Glidden Home Makeover series, and this month, we decided to repaint, repair, and convert a “Spare” room into an office. This is the room between my kitchen and bathroom, and due to the many intensive renovations that we’ve worked on over the years, this room has been mostly needed as a repository for construction supplies, always “In transit” with another project. (We built a deck adjacent to its back door, converted the attic space above it and completely renovated the bathroom, so it was smack dab between many large and time consuming projects!) Now that we have gotten these projects wrapped up, I had an opportunity to convert it into what its final purpose was always intended: An office. I had wanted to do this two years ago, but my injury put all plans other than physiotherapy and work on hold for a long time. Now I could finally move the filing cabinet out of Jai’s office and get a permanent place to store things that have been scattered all over the house due to all the constant renovations and upheaval.
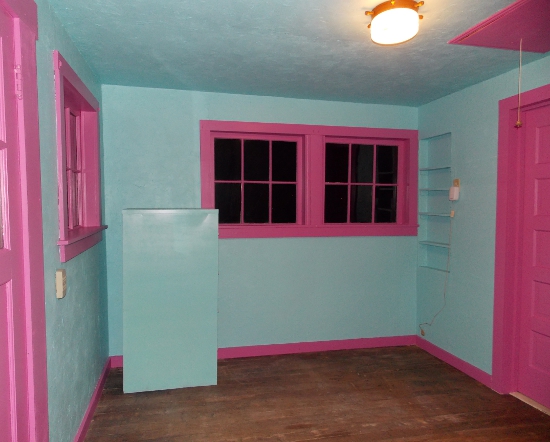
For this room, I chose True Turquoise for the walls and Blooming Fuchsia for the trim. If you hadn’t figured it out yet, I really like bright colors. 😉 The turquoise actually looks more blue in real life than it does in the online paint chip (To me, anyway), but I like it even better – the Fuchsia is also appears more bold and bright to me than it did in the preview, which is perfect. The room looks very “My Little Pony”, which is exactly what I was going for! I’m very serious about my business and work really long hours – so it’s nice to have a playful touch in my office!
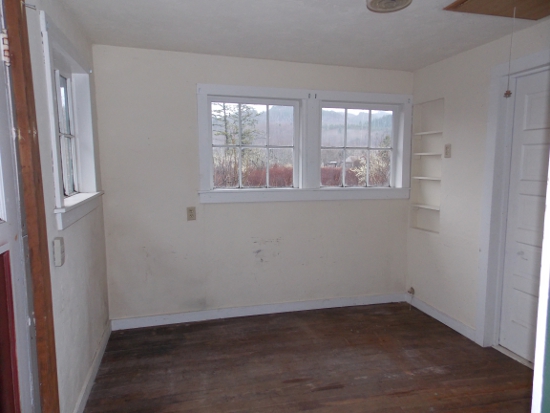
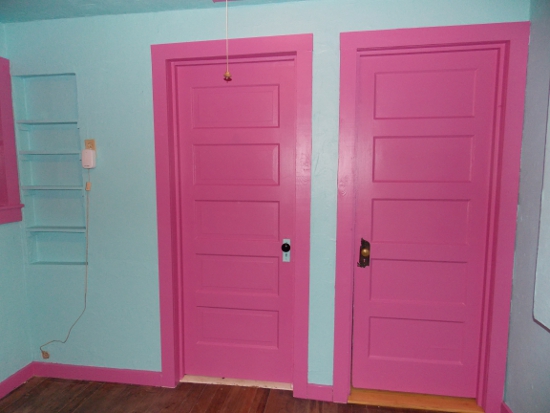
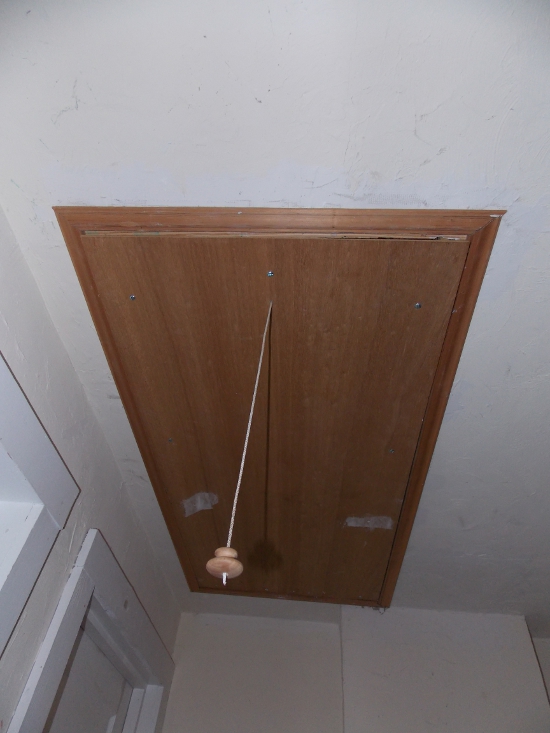
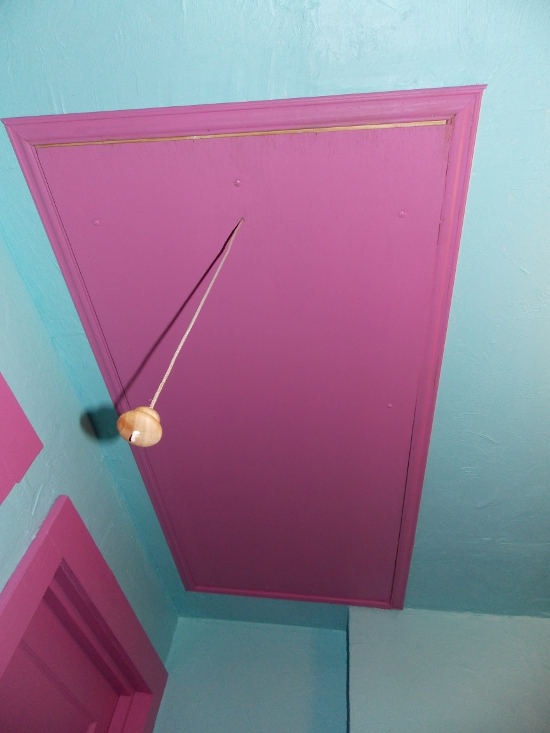
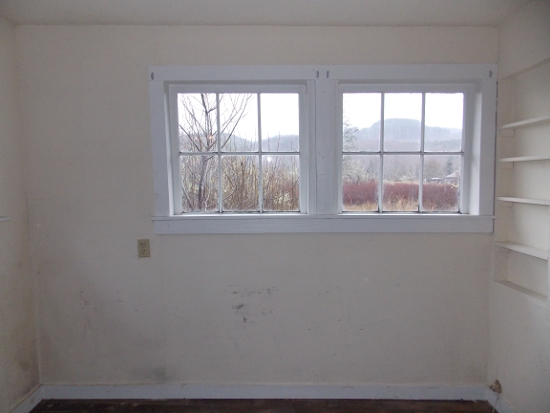
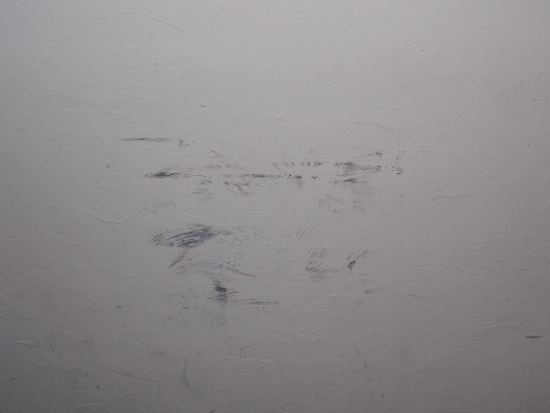
As you can see, the paint was looking SUPER shabby – that’s not dirt, the wall is scrubbed clean. Those are scuffs and scrapes that had accumulated because the room had gone so long without a fresh coat of paint.
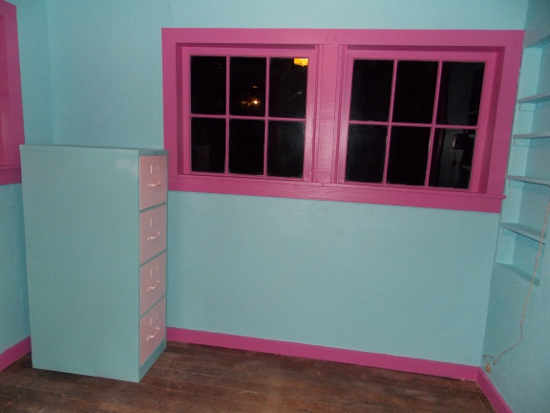
So much better! Also, note the filing cabinet – you probably figure I painted this to match the room, right? Wrong. I bought this filing cabinet at a thrift shop around 2009 and covered it in spray paint the same year – and it matches the walls almost exactly! How awesome is that?
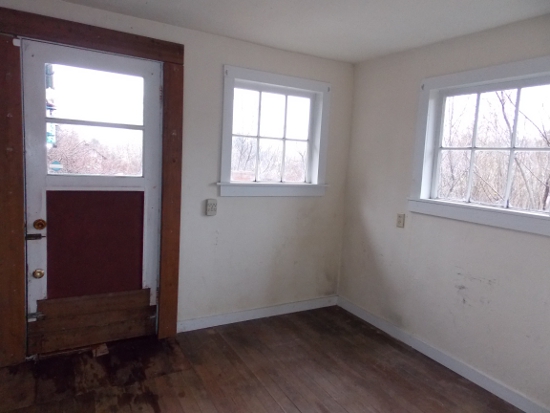
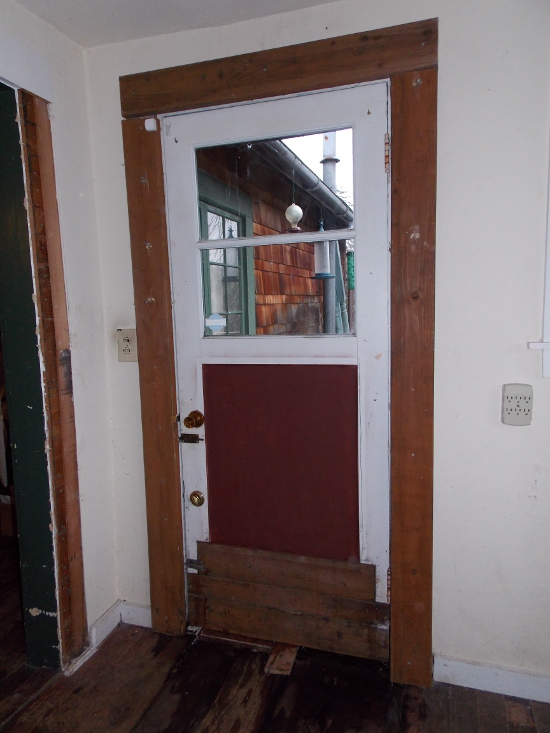
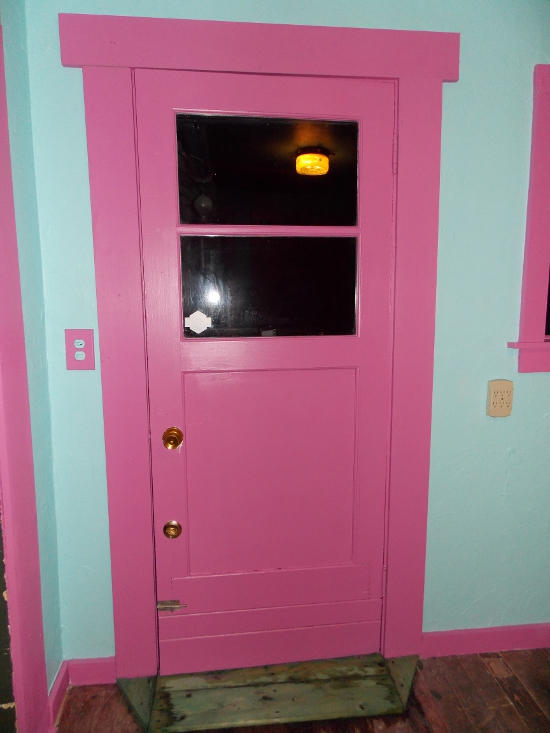
Oh boy! The back door was a HOT MESS. There were three things going on here:
1. Long story short, this door has always been flimsy, and one day I locked myself out of the house and kicked the middle out of the door so that I could get back in. Jai then patched up the door and the door frame, but it needed a more permanent fix.
2. That block of wood nailed over the floor? That’s covering a hole where rats had burrowed through the floor. This section of the floor is prone to dry rot and needed to be replaced again; we had nailed the wood down in the meantime to stop any other creatures from digging through, and added “Replace landing” to our never-ending to-do list over the holidays.
3. Those same rats that were coming up through the floor could be heard in the wall. We thought if we pried off the doorframe, we could block it up and stop them from getting in. Surprise! It’s solid wood wall all the way through – the rats were crawling through some miniscule hole inside the wall. So now we had rats and another item on our to-do list!
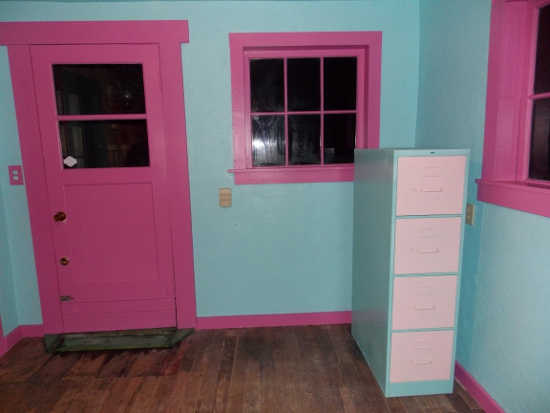
Jai was able to repair all of these issues before repainting, so that’s a big hassle out of the way. In case you’re wondering why the new landing is green, it’s because of a waterproof sealant that was placed on top of the wood; we can paint or varnish it later. You’ll notice a little bit of water on the floor, partly because we noticed a spot where water is still coming through in the door and partly because the door was half open and letting rain in while I took the photo and I didn’t notice. Ha! We’ll keep sealing up areas as we find them, and at a later date, replace the door altogether when feasible.
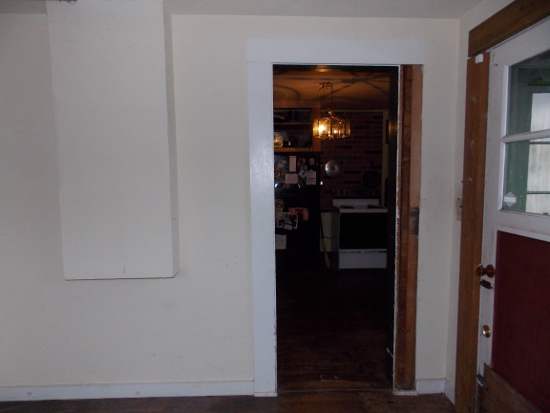
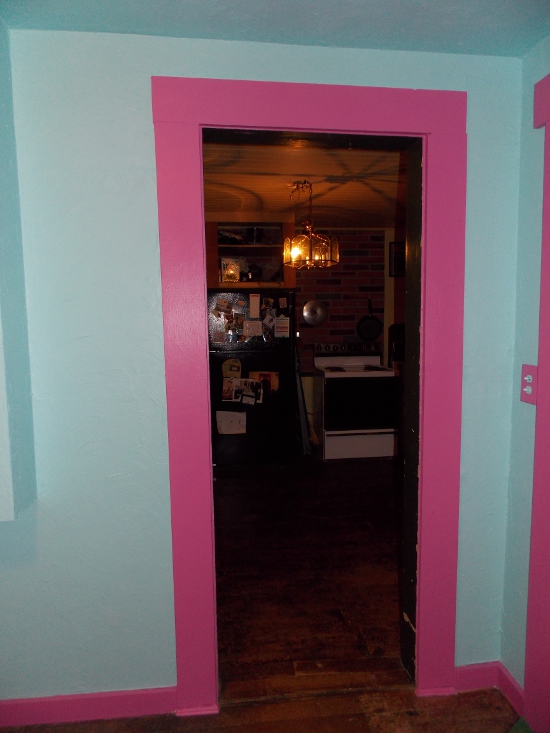
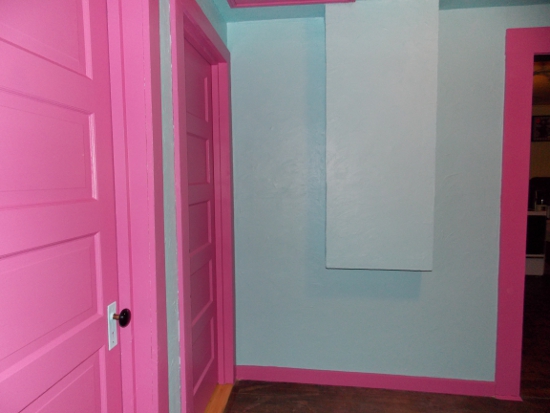
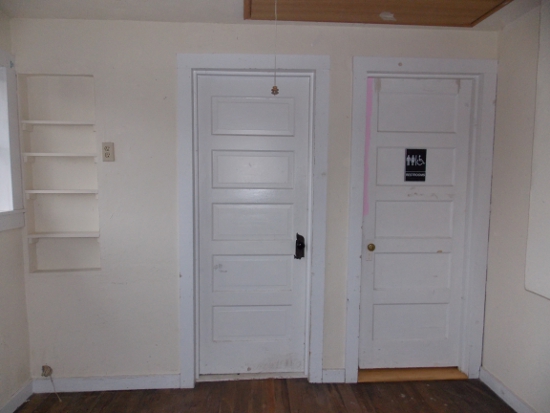
Finally, here is the office wall and doorframe that faces the kitchen, to give you a full panoramic idea of this room’s layout.
So there you have it! Not only has this room gotten a much-needed facelift and repaint, it was a great opportunity to take care of these annoying little repairs that had been building up. The whole experience was pretty easy – one thing a reader pointed out in the comments of one of my previous makeovers is how Glidden paint doesn’t smell strongly, and they’re so right. Most of the time when I’ve done painting, the fumes were strong and remained so for a few days – I remember the time I painted my bedroom while also bleaching my hair. Hooo boy, was I knocked out with the smell of those two things together! But the Glidden paint doesn’t smell strongly at all going on and there’s no fumes afterwards – we just finished the office tonight, and it just smells like a normal room!

For more on Glidden Paint and where to buy, click here to view the full line of paints. Glidden are providing us with the supplies for this project in order for us to share this makeover experience with you.

I am about to repaint my house too. Since my daughter is off to college and then decided to get engaged I decided to turn her bedroom into an office for me. 🙂
I can not even put into WORDS how jealous I am of that office! LOVE LOVE LOVE LOVE LOVE those colors!! It looks AMAZING!
Love the fun colors! You did a great job!
I am jealous. I LOVE the new look. Great choice in colors. 😉