I am a member of the Collective Biasâ„¢ Social Fabric Community. This shop has been compensated as part of a social shopper insights study for Collective Biasâ„¢. #CBias #SocialFabric #ExpressYourself
By now you should know that I love weddings and entertaining, so I get extremely excited not only by planning my own nuptials, but also participating in the celebrations of others. When one of my very dearest friends recently announced that she was getting married, my thoughts immediately turned to what I could make for her bachelorette party. As I searched the web looking for inspiration, I noticed that there were little to no tutorials for bachelorette party crafts, and the ones I did find just weren’t my style. It’s no secret that a lot of bachelorette parties are pretty outrageous, so most of the supplies and DIY ideas that I found just weren’t for me. Many people enjoy bachelorette parties centered around making the bride blush with crazy games and party favors shaped like male anatomy, and that’s perfectly fine, but for me personally I know that if I didn’t die of embarrassment first, the bride would kill me herself. 
A bachelorette party is a unique kind of wedding celebration. While a bridal shower is more of a family event focused on getting the bride things that she’ll need for the home, a bachelorette event is more of a big party where the bride can cut loose, chat with her girlfriends and hang out while eating tasty snacks and drinking cosmos. So to make this party picture perfect, I wanted to make the theme full of glitz, glam, and girly decorations – without the chippendales dancers!

In order to create my perfect decorations, I headed to Walmart so that I could buy supplies to make my own fabulous favors.
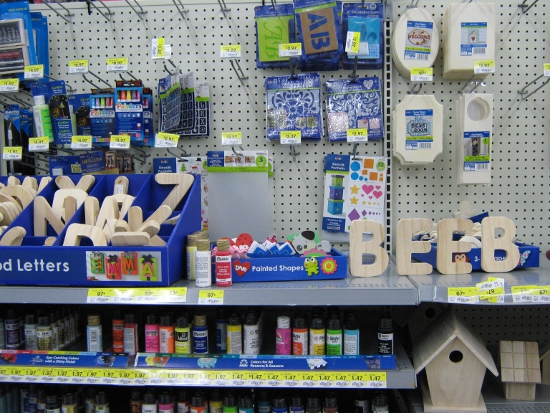
The first thing I picked up was a package of Elmer’s Painters Paint Markers. While I was deciding what color markers I wanted, Jai had fun arranging some of the wooden letters on the shelf to spell my name. 
Bride-To-Be Sash:
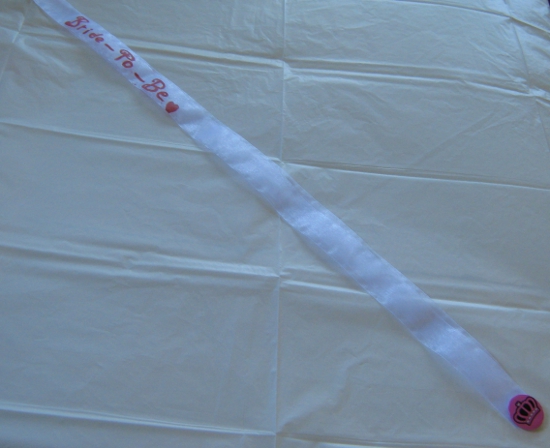
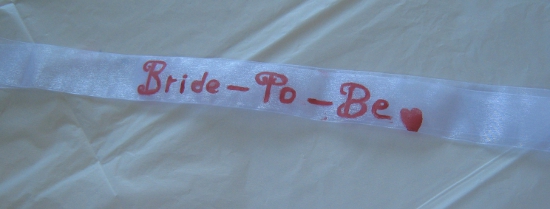
A “Bride-To-Be” sash is a classic accessory to put on the guest of honor before a night on the town! Here’s how I created this one:
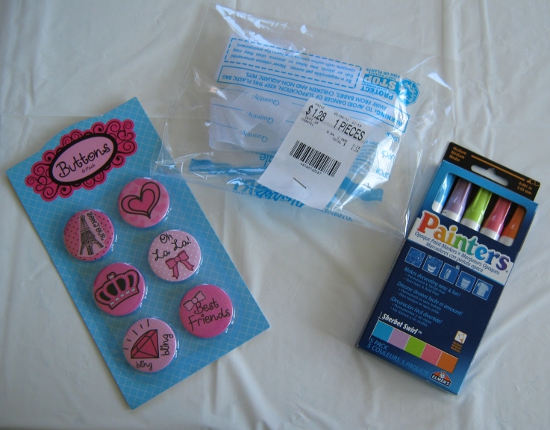
Supplies:
Painters Paint Markers
2 yards of white ribbon
1 badge
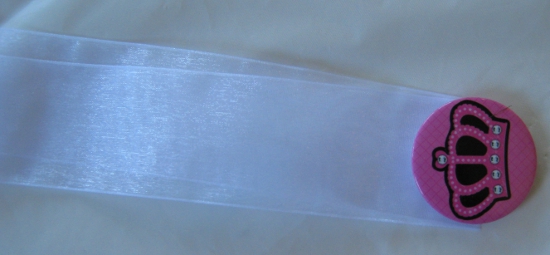
I found this cute package of badges for .97 cents, and they fit perfectly with my theme. I had originally planned to make my own bachelorette-themed button, but I couldn’t find the supplies that I’d need, so this was the next best thing. I used the badge with a crown on it to secure both ends of the ribbon together to form a sash.

I tried the sash on so I could get an idea of where the best placement for the lettering would be. After eyeballing it, I placed these two buttons on top of the sash to give myself a rough guide.
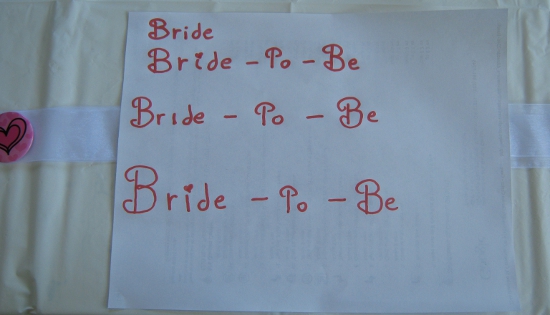
I’d never used these markers before, so I practiced on paper a few times before writing on the sash itself. When they say to shake these pens before using, they really mean it!
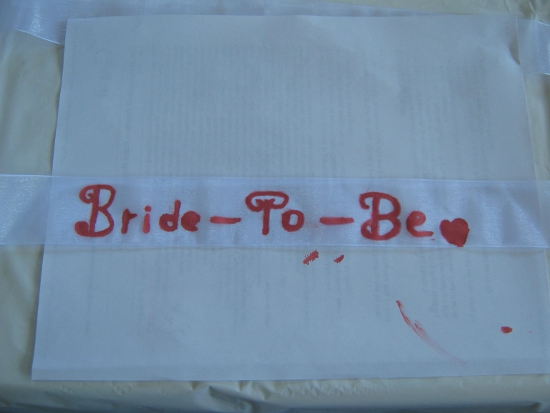
This was actually the most difficult of all the crafts which I made for the party, because of the ribbon itself being so sheer and shiny. I had a really hard time getting the paint to stay on – it soaked right through the material, so I had to make sure to put paper underneath it to soak up the paint. It was messy, but I ended up hanging it over a chair and touching up the letters section by section, allowing time for each letter to dry. The finished product will definitely work for my party, but next time I would use regular fabric as opposed to gauze ribbon with these markers.
Bachelorette Tiara:
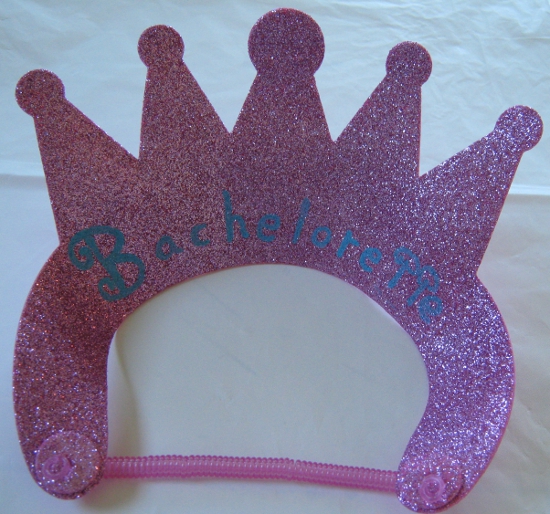
A fun crown or tiara is another common item for the bride to wear during her bachelorette party!
Supplies:
Painters Paint Markers
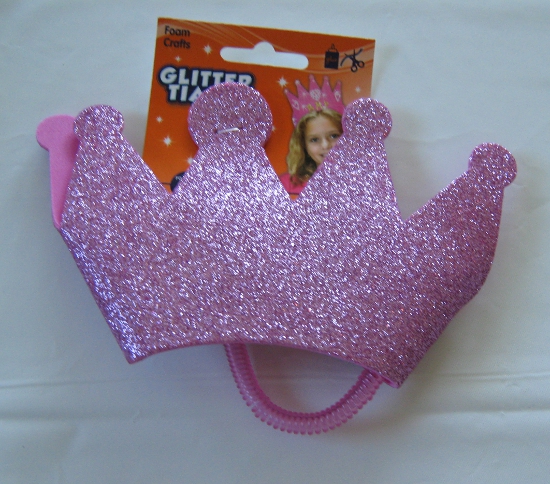
1 foam tiara
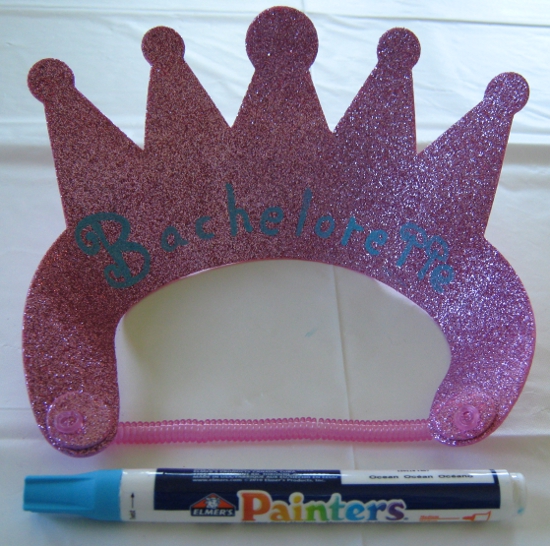
I found this cute foam & glitter tiara for .97 cents in the craft aisle. I really wasn’t sure how the markers would work on the glittery surface, but I was blown away by how easily the paint went on and how good it looked! All I did was write the word “Bachelorette” on the crown using a blue Painters Paint marker to contrast with the pink crown. Super easy and super cute!
Bachelorette Party Tote Bags:
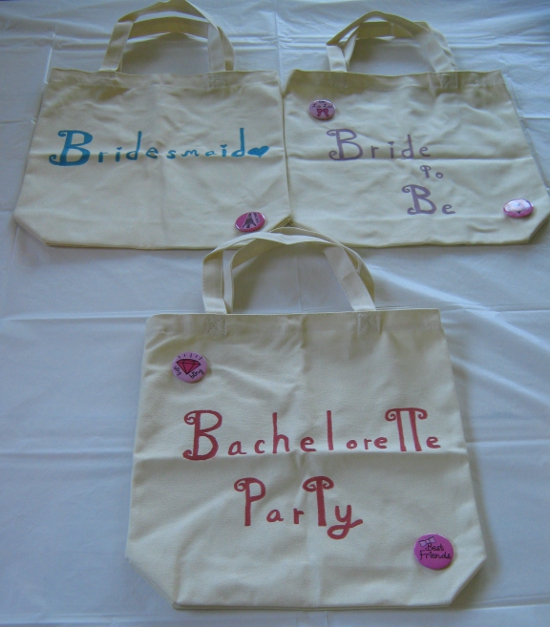
When I was kicking around ideas for party decor, I was inspired to make special bachelorette-themed tote bags. I really liked the idea of a centerpiece that could also be taken home as a practical favor – after all, everyone can use a tote bag, and it would serve as a fun reminder of the party. Also, bachelorette parties often entail a lot of games, accessories for the bride-to-be (Like the tiara and sash pictured above!), directions to bars, or other random pieces of paper. I kept wondering where I would keep these things during the celebration, so this centerpiece tote bag seemed like a great solution! Plus, the bride can pack up all her souvenirs and any leftover food in the bags the next morning.
Supplies:
Painters Paint Markers
Blank canvas tote bags
Several badges
Paper
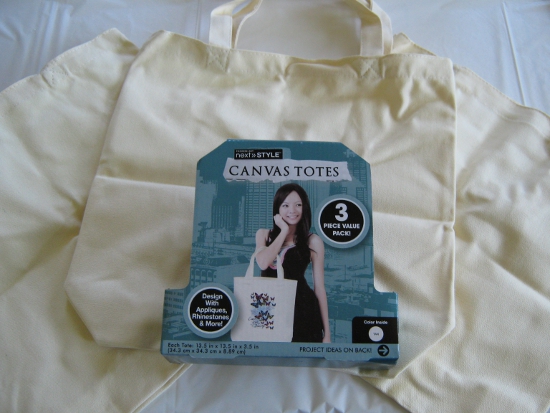
I found this package of 3 blank canvas tote bags while I was shopping in the craft aisle. I decorated them with the rest of the badges from the package of 6 that I bought, and wrote the phrases “Bachelorette Party”, “Bride-To-Be”, and “Bridesmaid” on them.
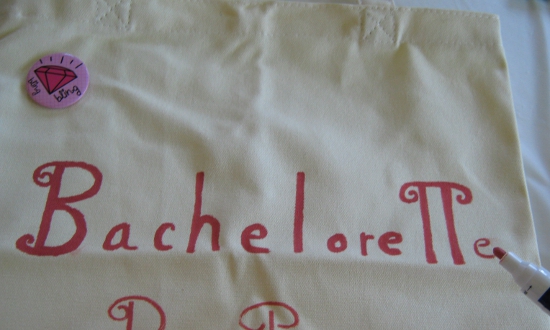
Writing on the canvas with these markers is super easy! Just be sure to line the inside of the bags with a piece of paper or two, as some of the ink may seep through.
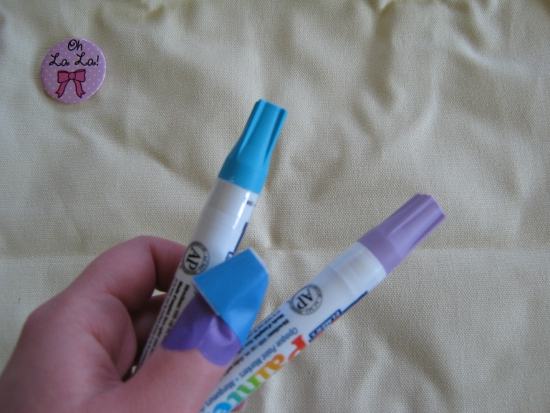
As a funny aside – I accidentally jabbed my thumb with scissors while working on these crafts, and had to stick a few band-aids on it. When I got back to work, I realized that my band-aids were the same exact colors as the markers I was using – totally unintentional! How’s that for color coordinated.
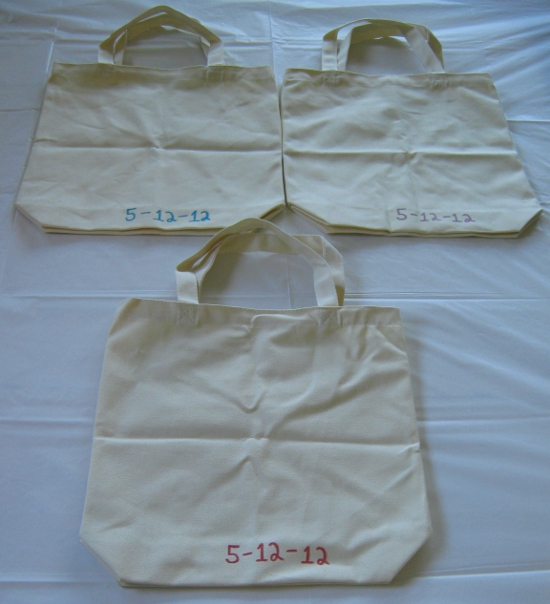
When I was done with the front of the tote bags, I turned them over and wrote the date that the celebration will occur as a fun keepsake of the day.
Bachelorette Wine Glasses:
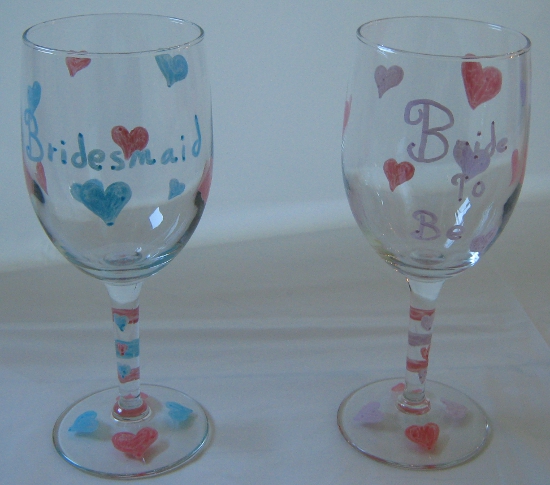
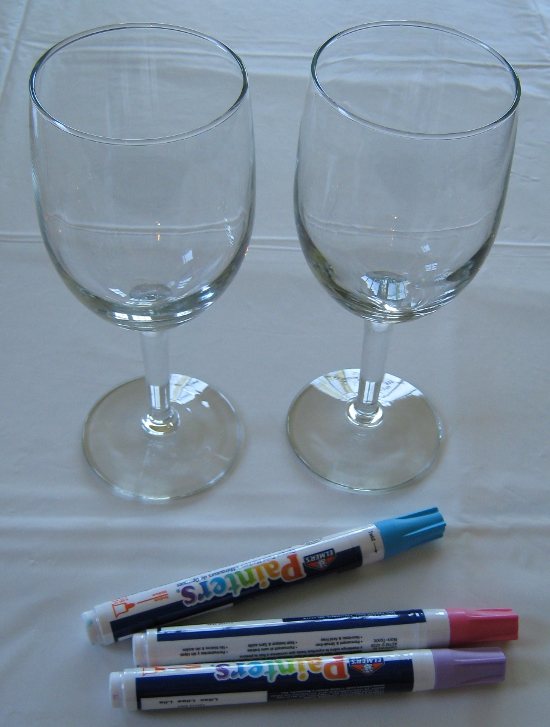
Another item that I wanted to make was a special wine glass decorated just for the bride-to-be. This would serve triple duty as an attractive decoration, a glass for her to use during the party, and a keepsake.
Supplies:
Painters Paint Markers
Wine glasses
I found these glasses for .97 cents each in the housewares department, and I knew these would be just perfect. Now in case you’re wondering why I only made two – this party that I’m having is going to be a girl’s night in with just the bride-to-be and myself. She’s getting married in 2 weeks and will have a formal reception later in the summer, so I’ll be hosting a second bachelorette & bridal shower in the next few months when it’s easier for all of our friends to come. This small party will be a perfect chance for us to get together in the middle of everything that’s going on, catch up, and relax!
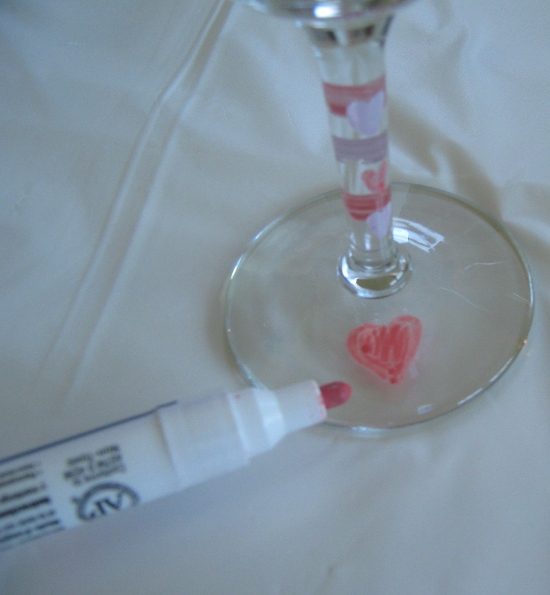
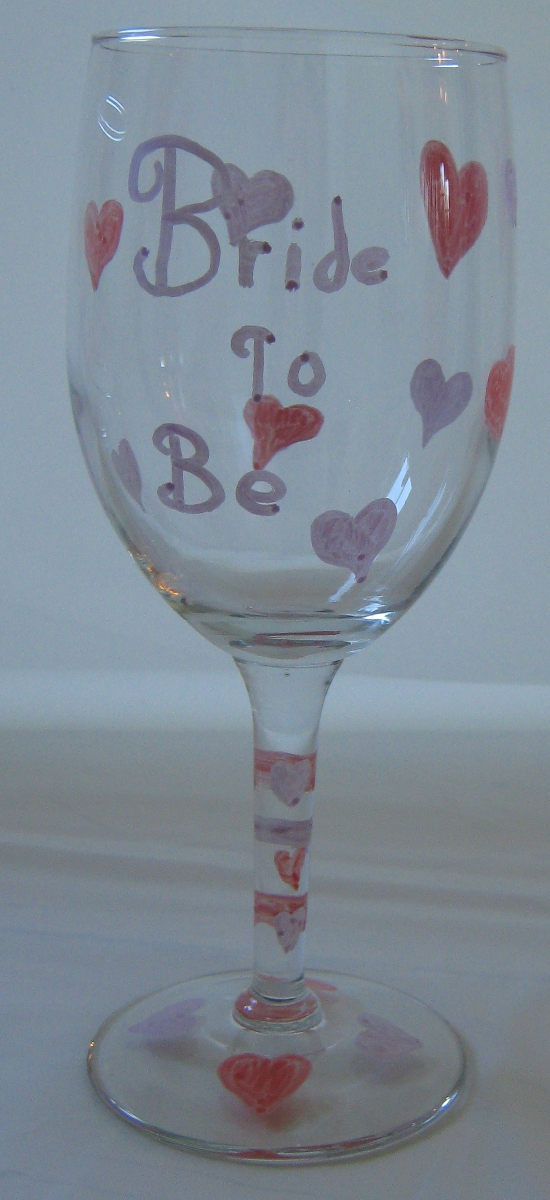
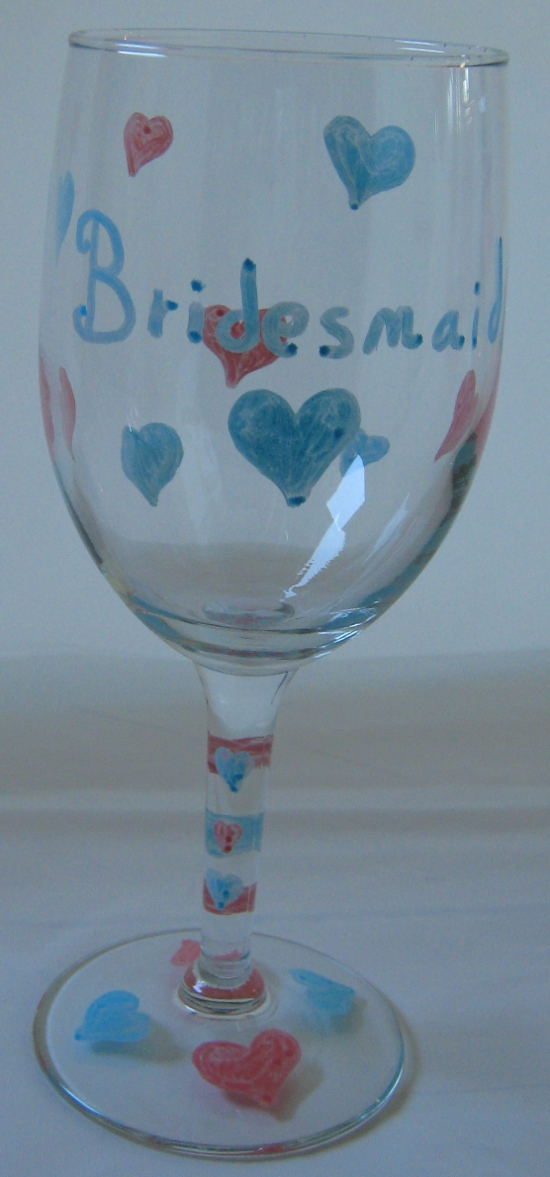
Making these custom glasses was easy and fun. The Painters Paint Markers went on the glass easily and looked nice. I wrote “Bride-To-Be” on one and “Bridesmaid” on the other, and decorated them with a multicolor heart motif. This way, there will be no question as to whose drink is whose. 
Bachelorette Tablecloth:
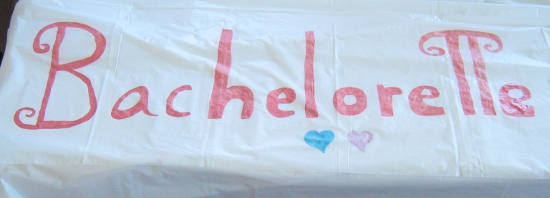
To round off the decor, I thought I’d decorate a tablecloth for the party!
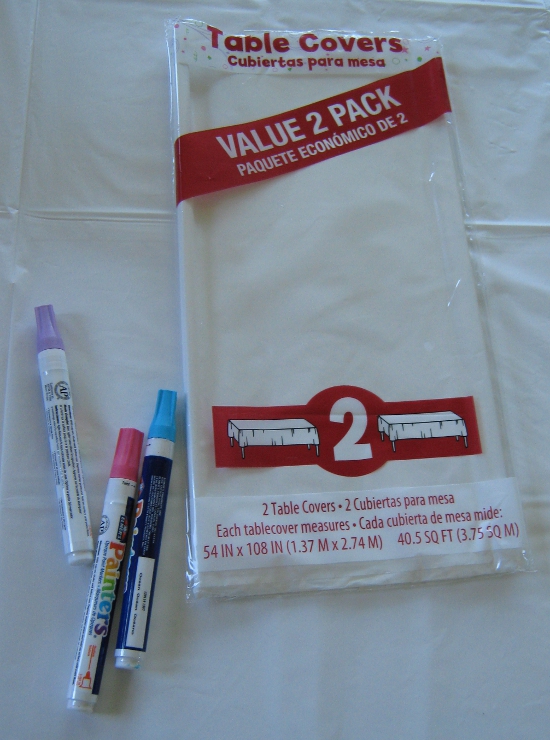
Supplies:
White plastic tablecloth
Painters Paint Markers
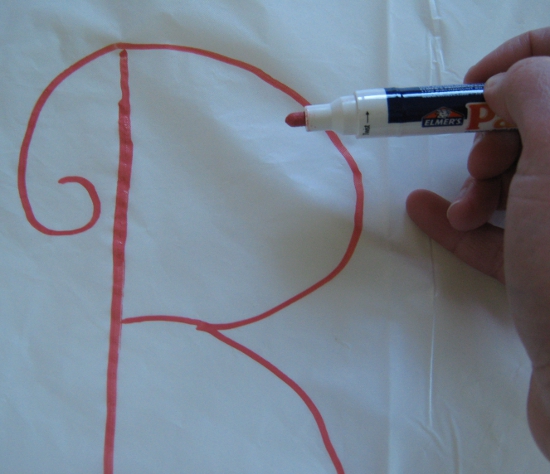
This was super easy to make. All I did was put the tablecloth on the table I’ll be using during the party and eyeball where the cloth would fall on the front of the table. I then wrote the word “Bachelorette” on this section in large letters and added some hearts at the bottom. There were two tablecloths in the package, but as they are quite see-through, I layered them on top of each other.
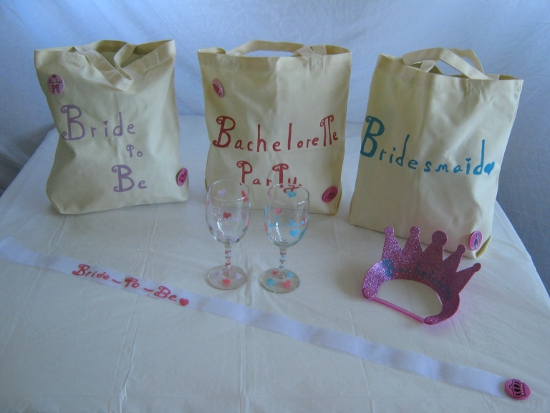
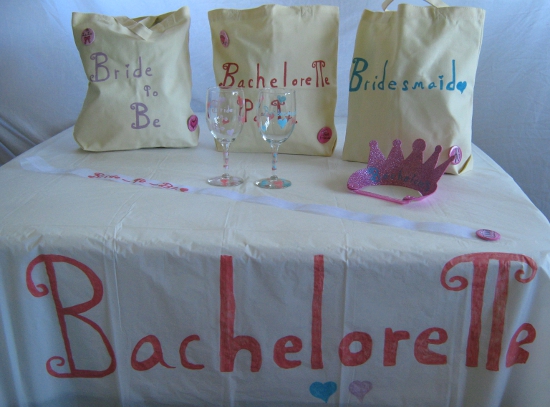
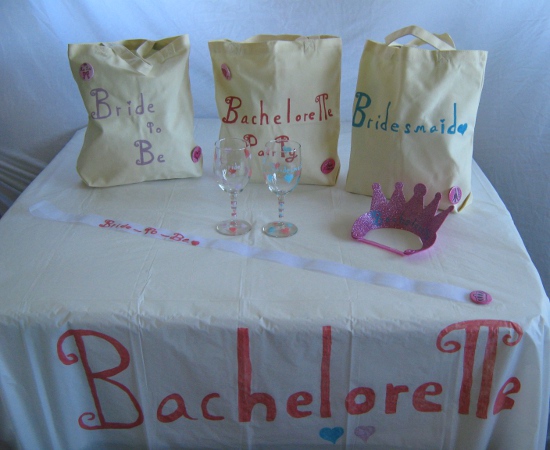
And there you have it – my fun DIY bachelorette party supplies! The neat thing about these ideas is that they are easy to do and can be made by crafters of any skill level. I was a little concerned about how they would turn out at first – In a short period of time, I managed to smear paint all over several items, stab myself in the thumb with scissors, and spill a cup of coffee ALL OVER my craft table. However, these mishaps didn’t stop my crafts from turning out they way I hoped they would. I’m really pleased with the results and I think my little party is going to be super cute and fun!
Painters Paint Markers are now available at Walmart in both multipacks for $9.97 and individually for $1.97. The individual markers have a wide selection of colors and tip sizes to choose from, so you can find the perfect marker for your project. To learn more about this and other Elmer’s products, check out Elmers.com and follow them on Facebook and Twitter.

Aww, younmade some really cute stuff! Love it all!
Super cute! Thanks for sharing!
great DIY ideas! I love how versatile those paint markers are!
I’m giggling at your name in the craft aisle…that’s totally something I would do!
Great party ideas!
Those tote bags look great. I have never used these paint pens and appreicate the tips.
love the wine glasses – we are big elmer’s fans here too!
How fun! I love everything you did especially those wine glasses.
You did a great job! Love the ideas and if I ever need to throw a Bachelorette Party, I know how to do it.
I love a good bachelorette party and these sure do save you some cash on the party items!
That is really cool how you did that, Beeb. You are so crafty.
You did a great job! How fun and creative
Very cute ideas! I love homemade stuff…
Very creative! love it!
Your decorations are wonderful, how fun!
scissor stabbing and coffee spilling sound just like my attempts at craftiness! LOVE the pics though!
Love your creative flow. Those are some great markers.
Super cute!
Great job on the decorations! That was a lot of work. Thanks for the great ideas.
Great ideas for any kind of party!
Those look like a lot of fun for a party
Very brillant ideas . Love the canvas totes. Thanks for visiting my blog . I appreciate your time
Such cute ideas! I would totally use them for someone else or love to have them used for myself. I think they’re super classy and look really fun to make!
super cute
super awesome ideas!! and oh so crafty!
My friend is getting married in October and I hosting her party in September. I love the glass idea. Thank you for sharing, I am going to borrow this idea and I will be sure to link back when I do the glasses.
Sorry but these are just downright tacky! Cheap and not even done nicely. Lol I would be so embarassed